MikroTik Hotspot Controller with HTTPS Connection
This guide shows how to enable HTTPS for your MikroTik hotspot server, replacing the default HTTP configuration. Using HTTPS helps avoid browser warnings about insecure connections.
Note: By default, Powerlynx provides HTTP because SSL certificates are not automatically generated or provided. You must generate and install your own SSL certificates to enable HTTPS.
Why Use HTTPS?
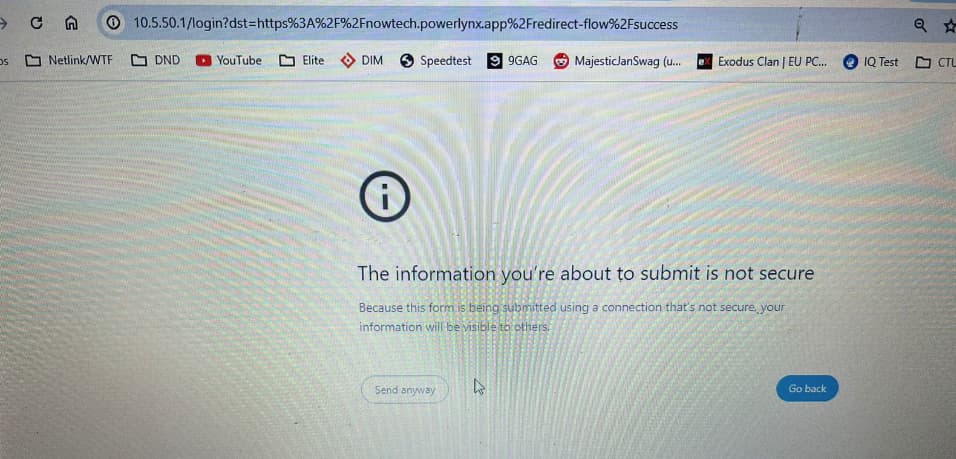
Enabling HTTPS improves security and avoids browser security warnings like the one shown below:
Device Used in Example
This tutorial uses the MikroTik hAP AC lite, but the steps apply to most MikroTik routers with RouterOS.
Reference: MikroTik Documentation – Certificates
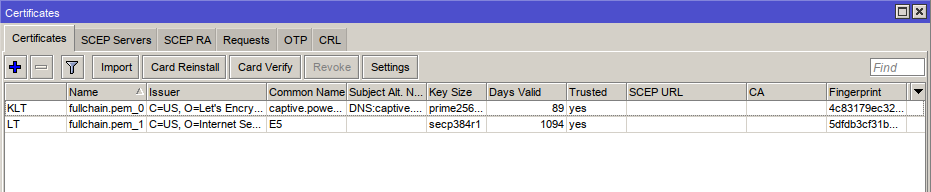
Step 1: Generate and Import SSL Certificate
You can generate the certificate on your own server or use a public Certificate Authority like Let’s Encrypt.
In this example, we used pre-generated certificates and imported them into the MikroTik device.
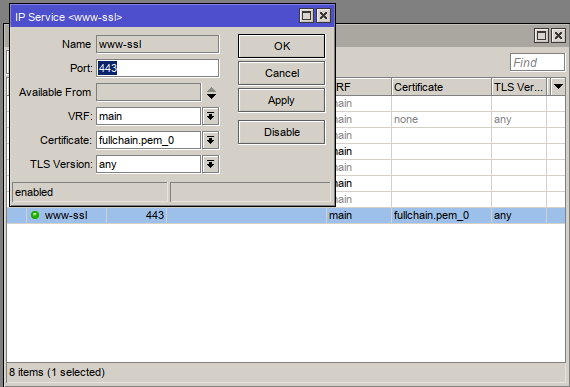
Step 2: Enable HTTPS Web Service
- Go to IP > Services.
- Find the
www-sslservice. - Enable it and set the port to 443.
Step 3: Configure Hotspot with RADIUS and HTTPS
Use the Advanced setup method to configure the hotspot controller.
Follow steps 1, 2, 4, 5, and 6 in this Powerlynx guide:
![]() MikroTik Hotspot: Advanced setup
MikroTik Hotspot: Advanced setup
Note: If your device is running RouterOS version 6, skip steps 1 and 2, as WireGuard is only supported starting from version 7. In that case, you can use an OpenVPN connection instead.
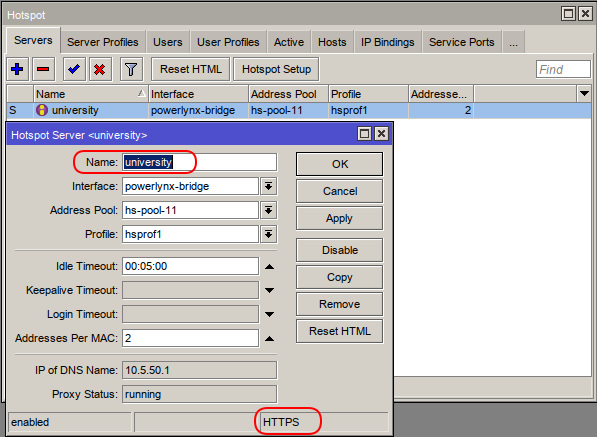
Step 4: Set Up the Hotspot Server
Go to IP > Hotspot > Servers and create a new hotspot server.
Make sure the Common Name (CN) in your SSL certificate is the same as for hotspot server name.
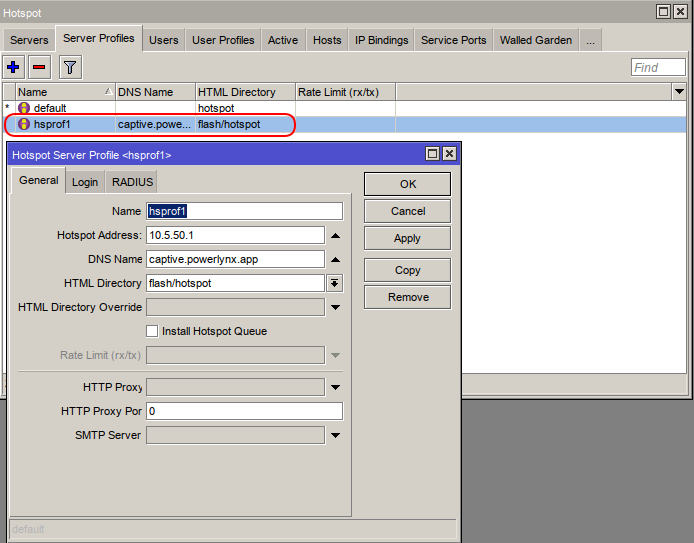
Step 5: Update Hotspot Profile
Update the Hotspot Profile with the following:
General Tab
Login Tab

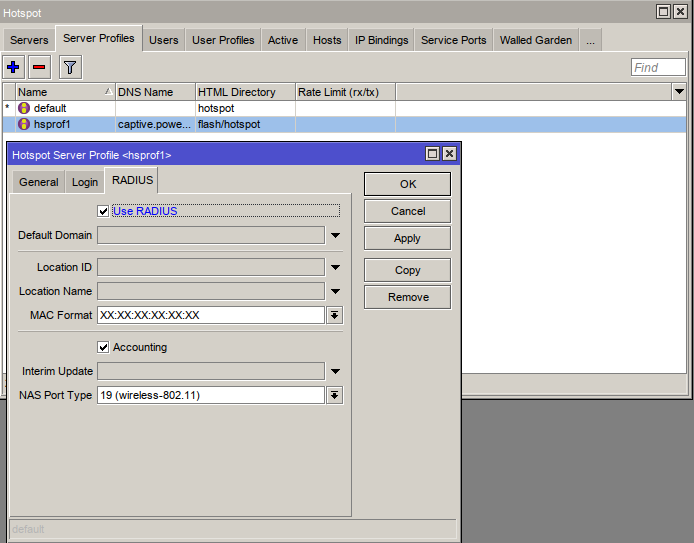
RADIUS Tab
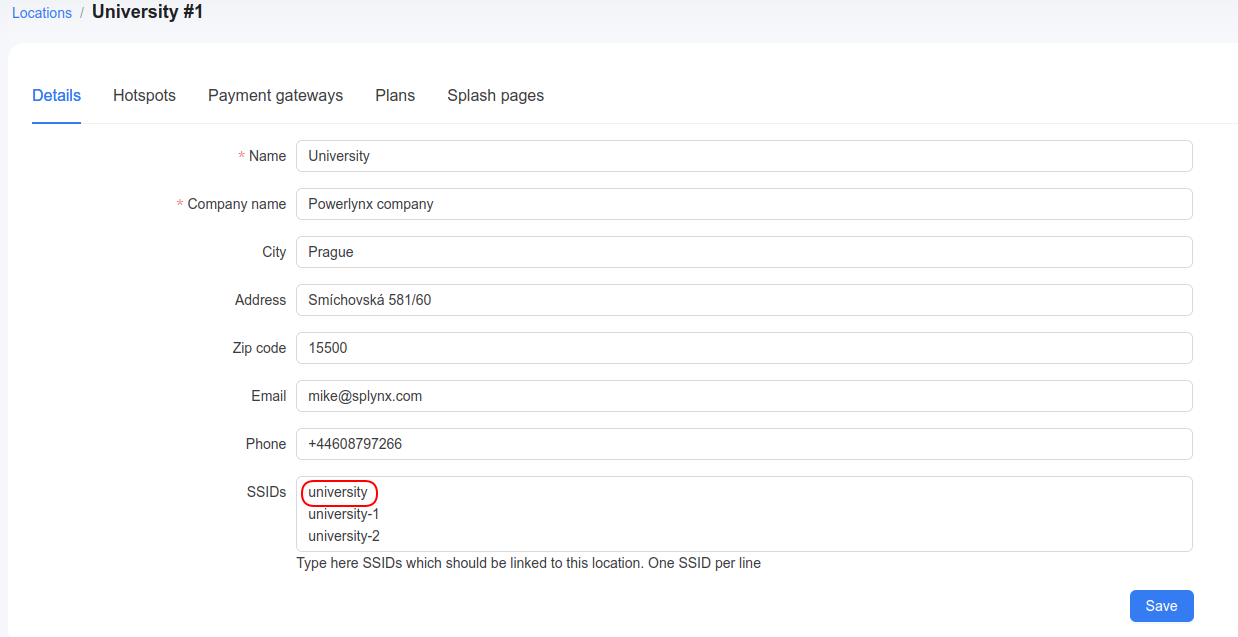
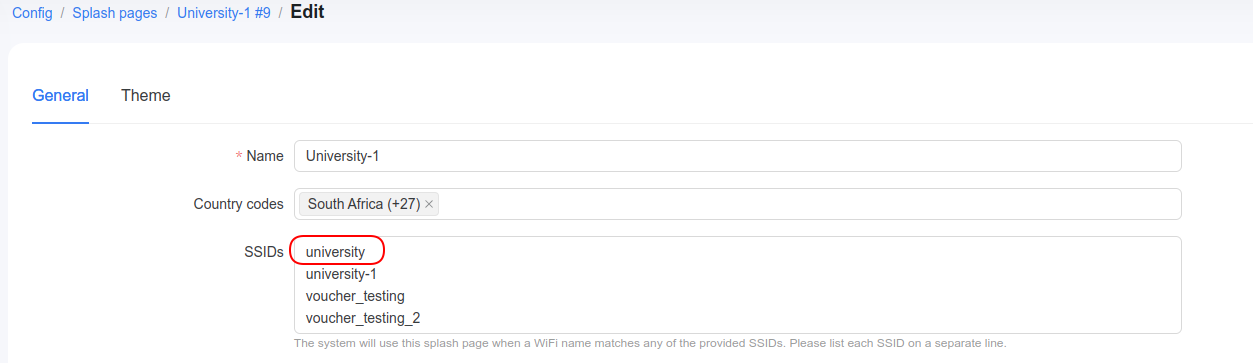
Step 6: Match Hotspot Server Name with SSID
Ensure the hotspot server name matches the SSID name configured in Powerlynx.
In this case, the name is university.
Final Step: Test Your Connection
Once everything is set up, connect to the hotspot network using the SSID. You should see the login page load without security warnings.
Need Help?
For further assistance, contact:
![]() support@powerlynx.app
support@powerlynx.app