MikroTik: OpenVPN with RADIUS
This guide shows how to connect your MikroTik hotspot controller to Powerlynx using OpenVPN, especially useful if you encounter conflicts with Powerlynx’s default network or face issues with WireGuard.
Why Use OpenVPN?
Powerlynx uses the 172.16.0.0/12 network by default, which is fixed. If your network already uses this range—for example, for another RADIUS server—it can cause conflicts.
Additional use cases:
- You’re using RouterOS version 6 (WireGuard requires v7+).
- You need to isolate Powerlynx traffic on a separate subnet.
Powerlynx’s OpenVPN server uses the 10.112.0.0/16 range.
| Attribute | Value |
|---|---|
| RADIUS server IP address | 10.112.0.2 |
| OpenVPN Endpoint | openvpn.powerlynx.app:443 |
Device Used in Example
- MikroTik hAP AC lite
(Applies to most MikroTik devices with RouterOS)
Configuration Steps
1. Create Hotspot in Powerlynx
Use the Advanced Setup option.
- Go to your Powerlynx account.
- Create a new hotspot using Advanced setup.
- Download the OpenVPN config file.
2. Upload & Import OpenVPN Config to MikroTik
Upload the .ovpn file to your router.
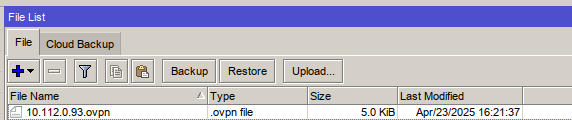
Then import using terminal:
/interface/ovpn-client/import-ovpn-configuration ovpn-user=10.112.0.93 skip-cert-import=no
(Replace 10.112.0.93 with your assigned OpenVPN IP)
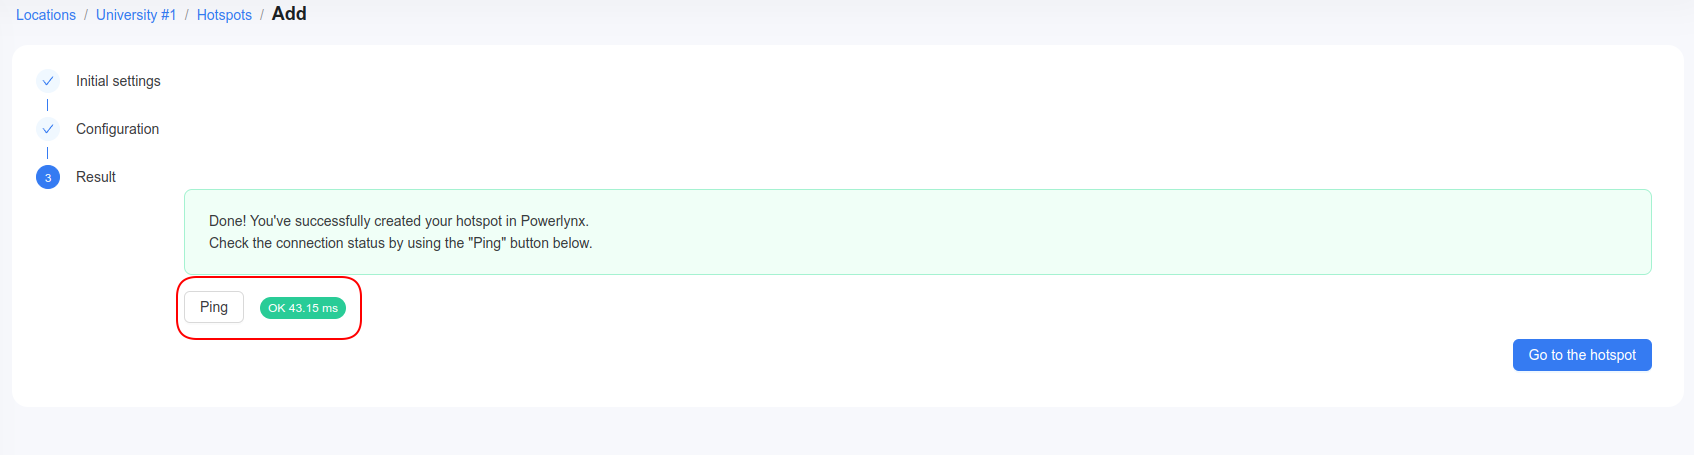
3. Verify Connection
Check connection on the Powerlynx side to confirm the VPN tunnel is active:
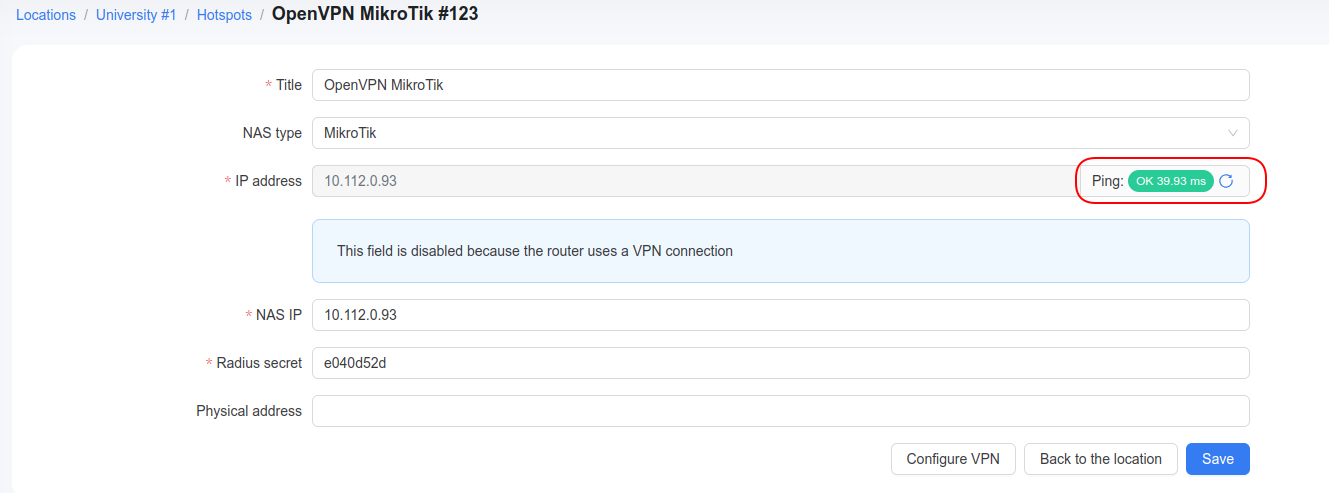
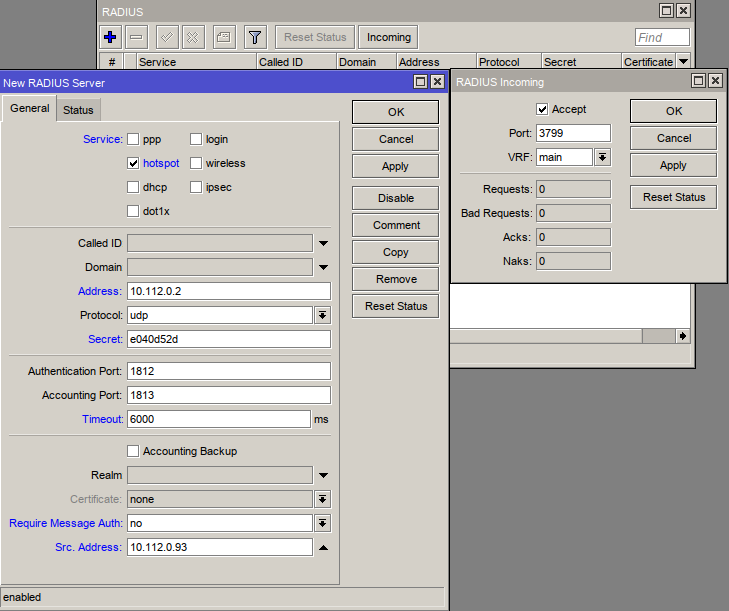
4. Configure RADIUS
Copy the RADIUS Secret from your Powerlynx dashboard and use 10.112.0.2 as the Powerlynx RADIUS IP.
5. Complete Hotspot Configuration
Follow steps 3, 4, 6, and 7 from this guide:
![]() MikroTik Hotspot: Advanced setup
MikroTik Hotspot: Advanced setup
For additional help, contact:
![]() support@powerlynx.app
support@powerlynx.app