This example demonstrates how to quickly configure a test MikroTik hotspot controller connected to an Access Point (AP) device. For this setup, you can use either the Simple setup or the Advanced setup. For quicker configuration and testing, we recommend the Simple setup, which does not require VLAN interfaces.
In this example, we use the MikroTik hAP ax² as the hotspot controller, and the Ruijie Reyee RG-EW3200GX PRO as the Access Point.
You can use any AP device in Access Point mode that is wired to the MikroTik hotspot controller.
MikroTik Hotspot Controller – Preparation and Configuration
Preparation
Before using the Simple setup, verify that:
-
Your MikroTik router has internet access.
-
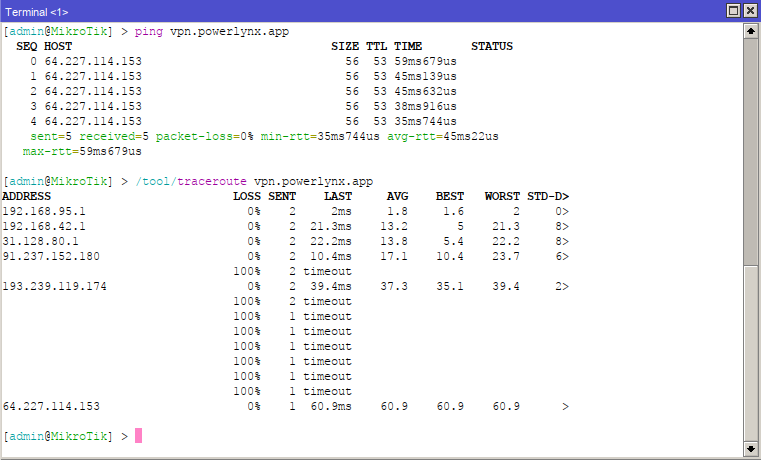
The host
vpn.powerlynx.appis reachable. You can test this using thepingortraceroutetools in Winbox or CLI. -
RouterOS version 7 or higher is installed. Powerlynx requires RouterOS v7+ for full compatibility with WireGuard VPN and other modern features.
For VLAN-based setups, refer to this guide: MikroTik controller with AP connected via VLAN interface
Configuration
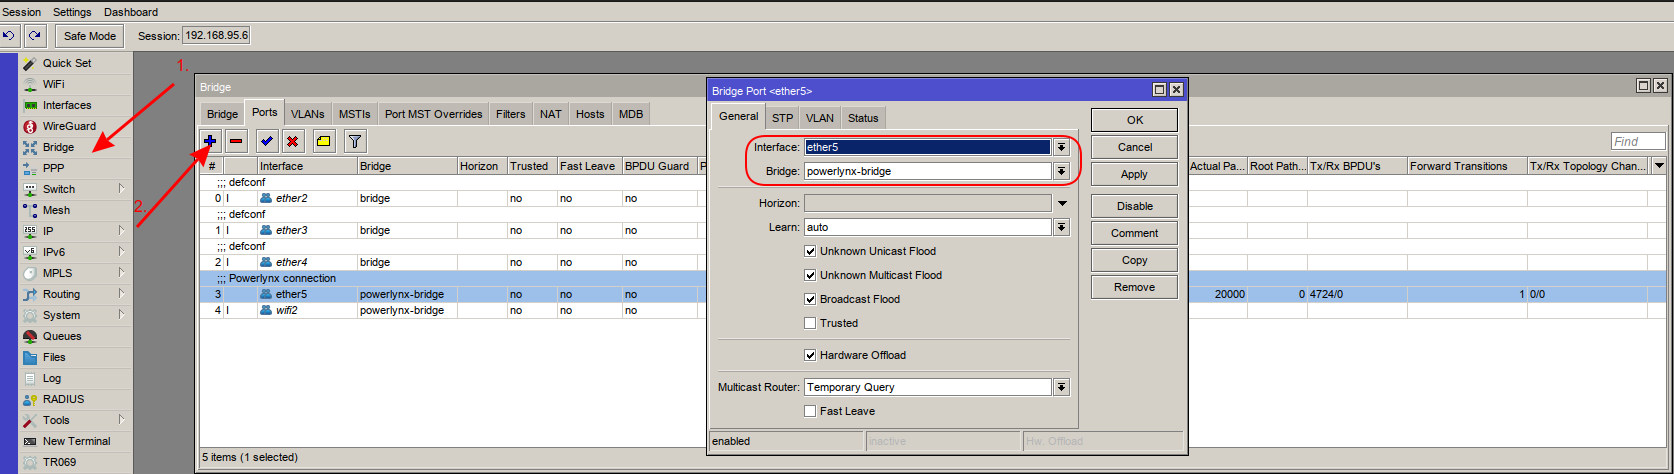
Once internet access is verified, you can proceed with the Simple setup. As part of the setup, you will assign the interfaces used for client access to the powerlynx-bridge.
Steps:
-
Go to Bridge > Ports
-
Under Interface, select the port to be used for the hotspot network
-
Under Bridge, select
powerlynx-bridge
Firewall Note: If your MikroTik has a restrictive firewall configuration (e.g., drop rules), make sure to allow access to Powerlynx services. You can follow our recommended firewall configuration here: Recommended MikroTik Firewall Configuration
Access Point Configuration
Important: The Access Point device must be in AP mode, which allows it to extend the main network via a wired connection. Services such as VPN, RADIUS, Hotspot/Captive Portal, and DHCP should be configured only on the MikroTik hotspot controller, not the AP.
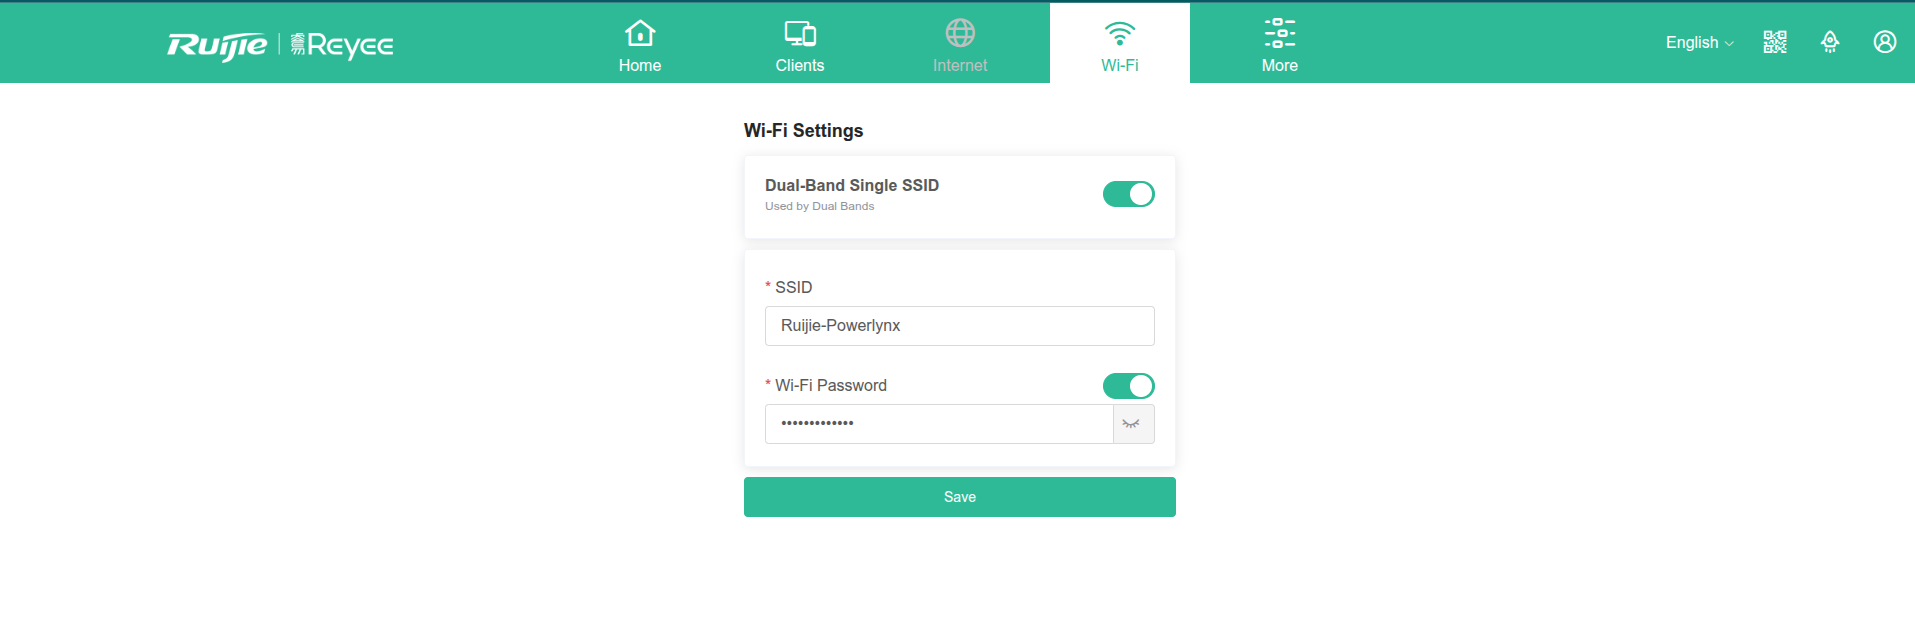
In our example, Access Point mode is enabled on the Ruijie device.

Specify the Wi-Fi network name (SSID) and password:
Testing the Connection
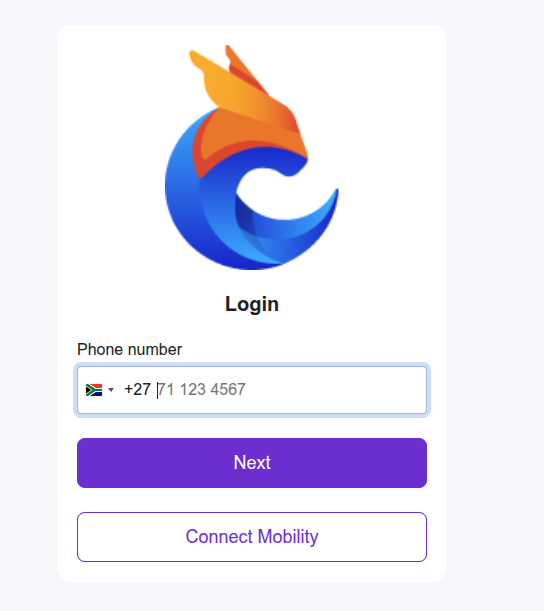
After completing the configuration, connect a client device to the Wi-Fi network broadcast by the Access Point.
Once connected, the device will be redirected to the Splash Page to complete the user journey.